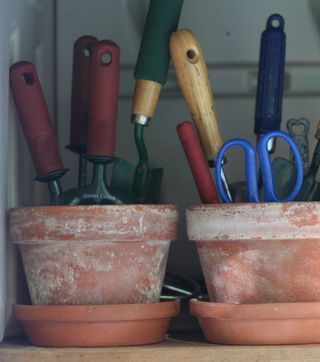
Local flower gardener, Truett Gardens flower shed.
Spring is here and we’re sharing some tips to help you declutter, organize, and restock your garden shed. Sometimes it's hard to find the motivation to get a jump start on your yard and garden plots but having an inspiring potting shed definitely makes it easier. If you don't have a shed, think about possibly creating a gardening/lawn maintenance corner in your garage. Before you get all excited about the idea of becoming a master gardener and needing all the supplies, we’d challenge you to assess what you do have and clear the excess before making any purchases. Discard any old or dried out gardening supplies and get rid of excess pots, tools, etc.
Pick a sunny & pleasant day, and get to work!
Here are some of our tips for organizing your garden shed:
1. essential tools & care
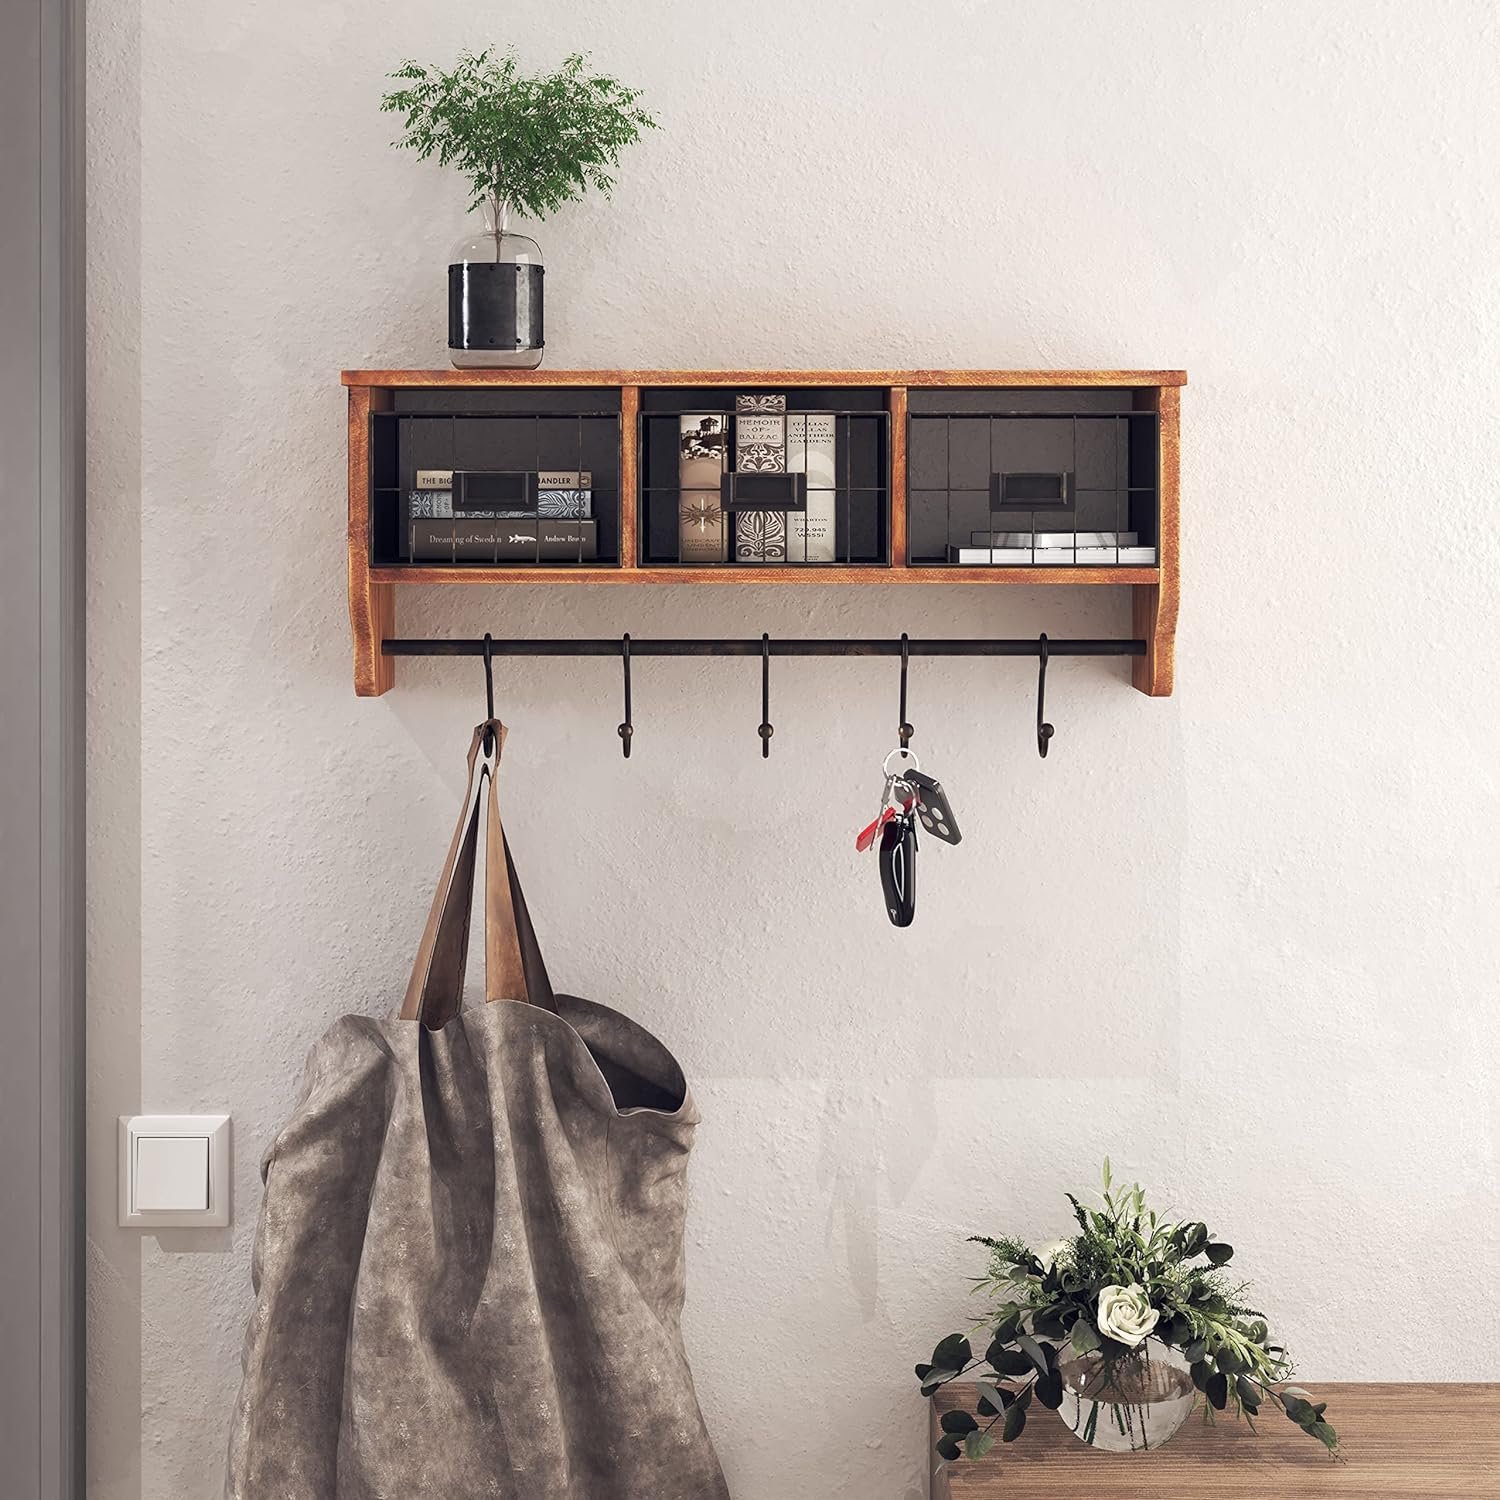
There is nothing worse than rusted, dull gardening tools. To keep tools sharp and shiny, try storing them in a sand filled bucket or clay pot and mix in a little bit of oil. Your tools will be well kept and easy to grab on the go. Get rid of the tools you no longer use. Having your tools handy and neat will increase your likelihood of utilizing them!
Other essentials: comfortable kneeling pad is a must and a sturdy tool tote is useful to carry around the yard as well.
Image by Creative Organizing
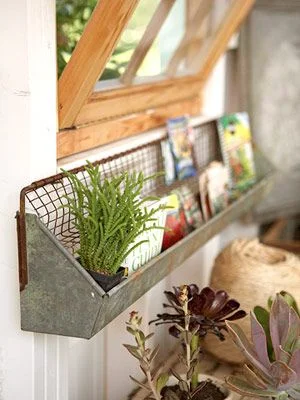
2. Be resourceful
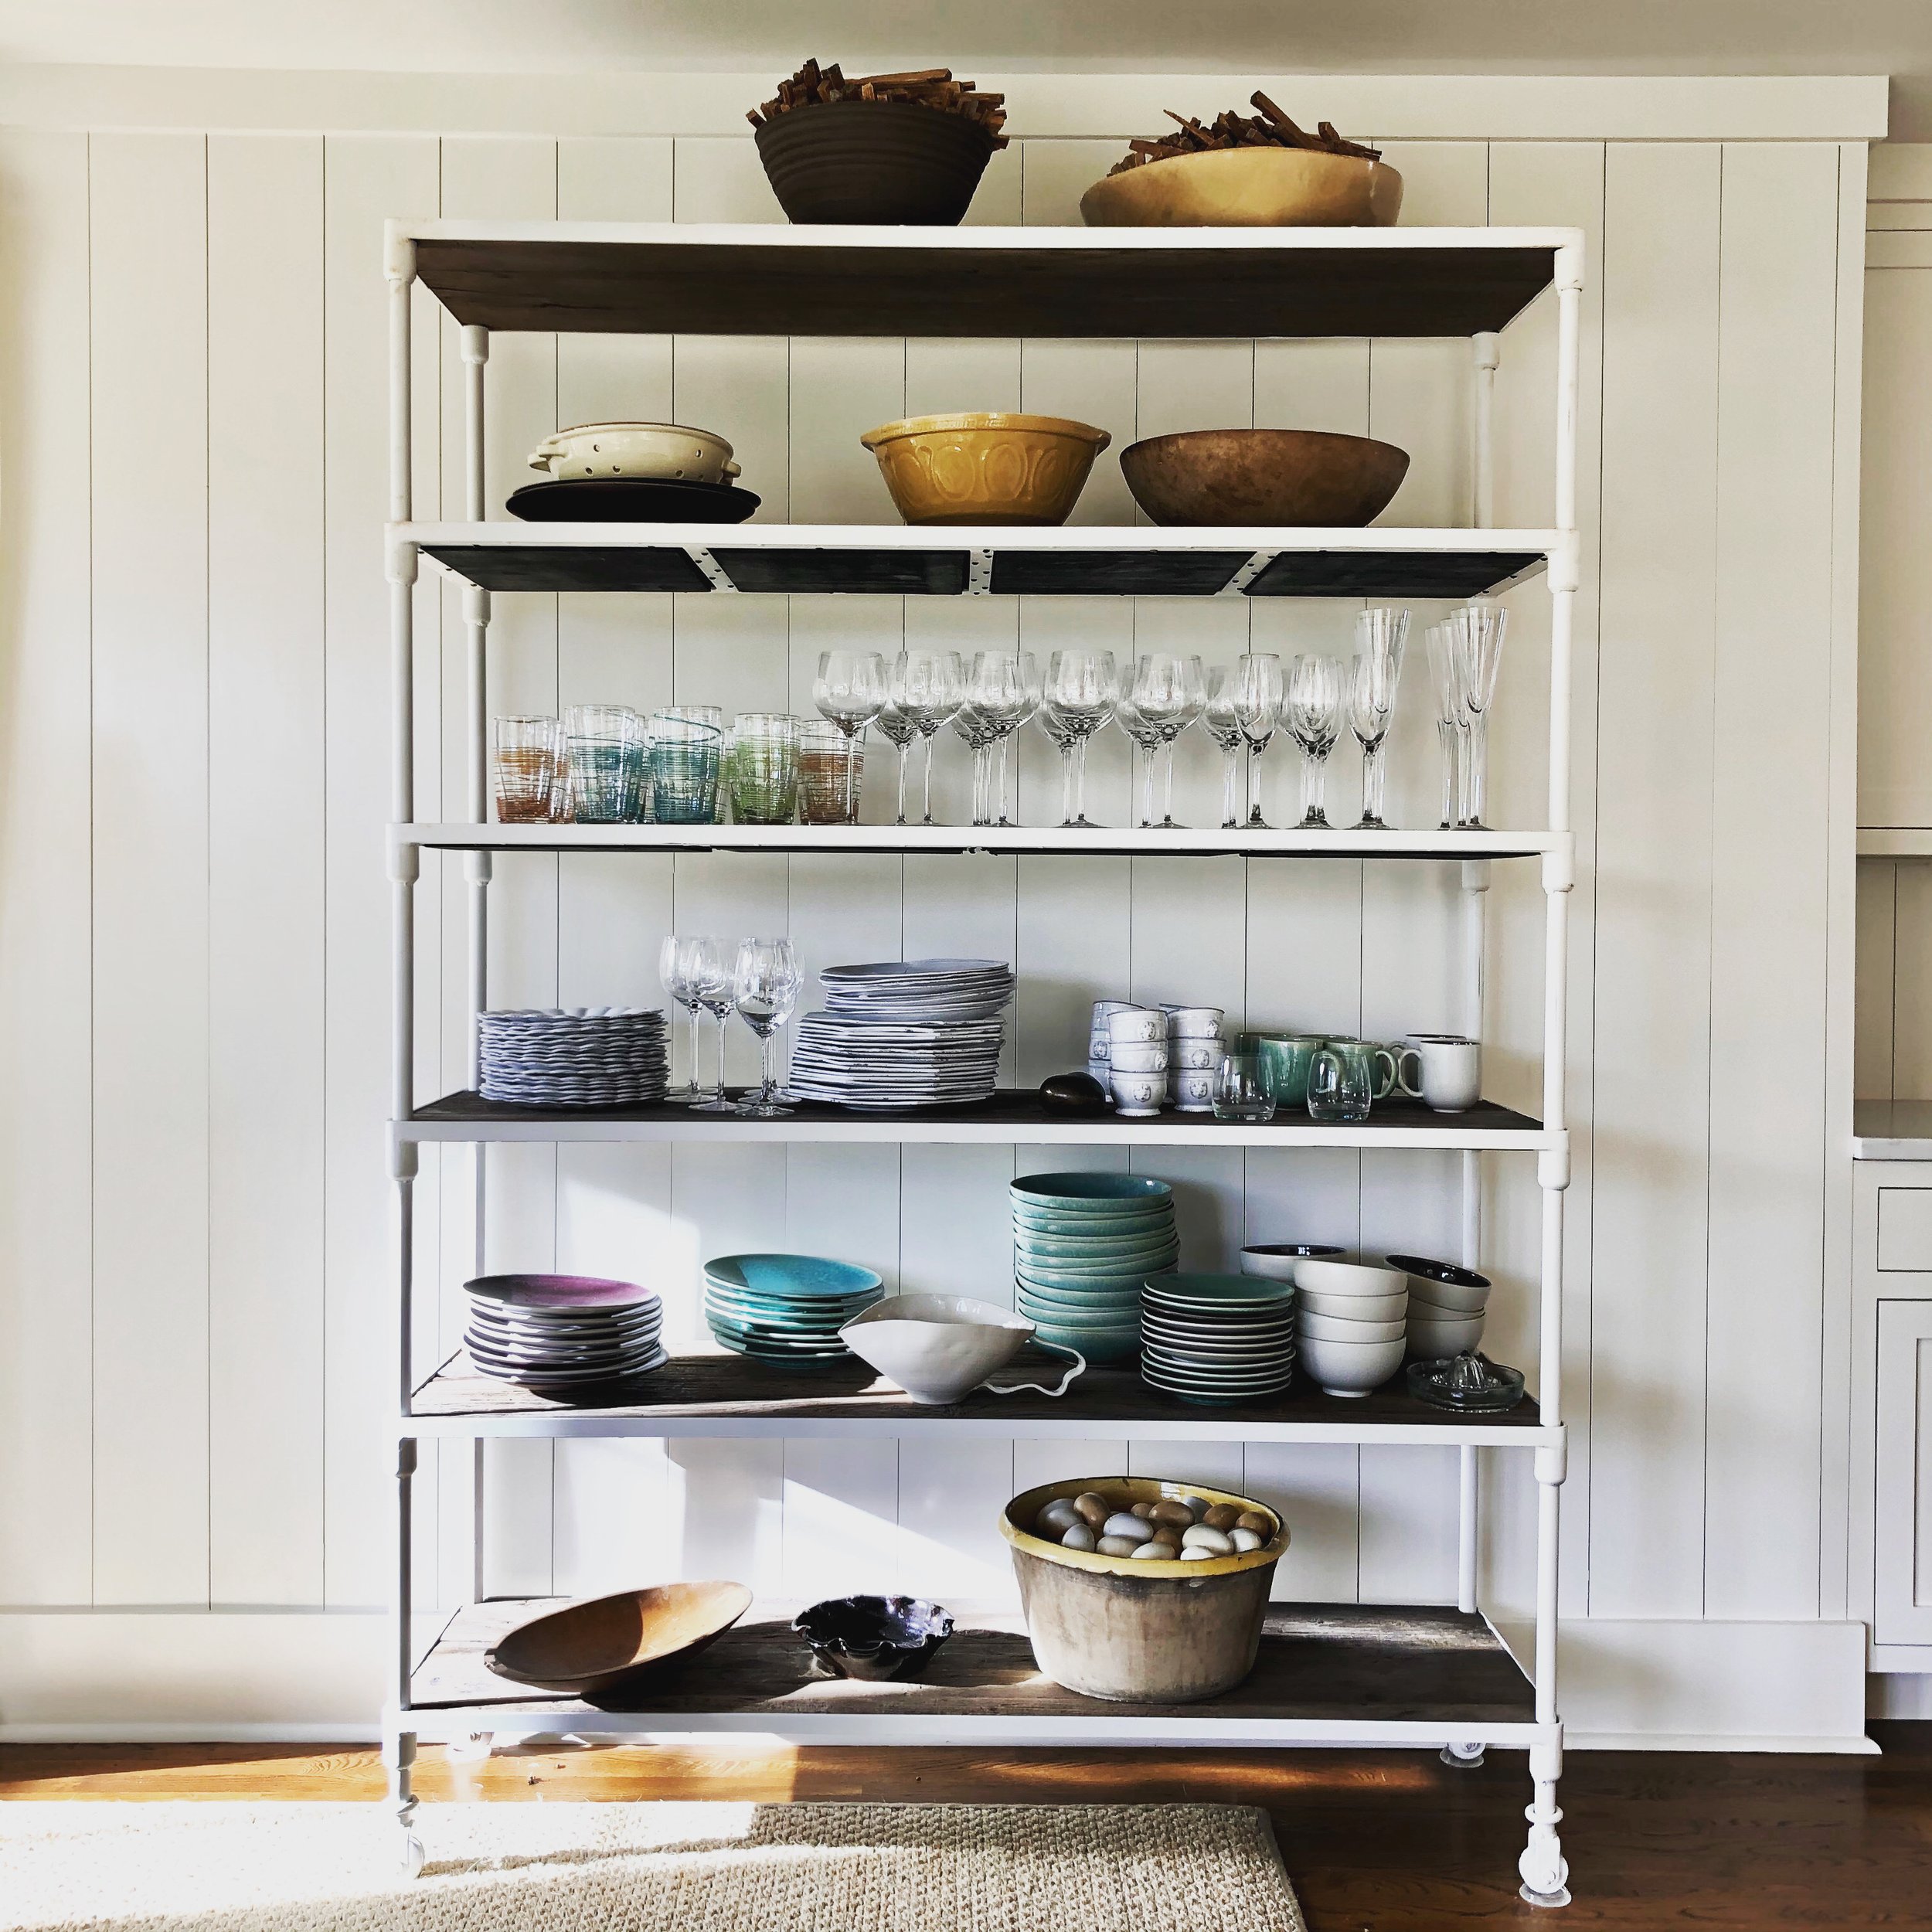
Think outside of the box and repurpose items you already have. Use a chick feed as a shelf, use an old shutter as a shelf, mount old rusted tools to the wall to hang things from. Once you start thinking creatively you'll find you have all kinds of things you could probably put to good use.
Pegboards offer a ton of options for wall storage of tools and other gardening items.
Image from bhg.com
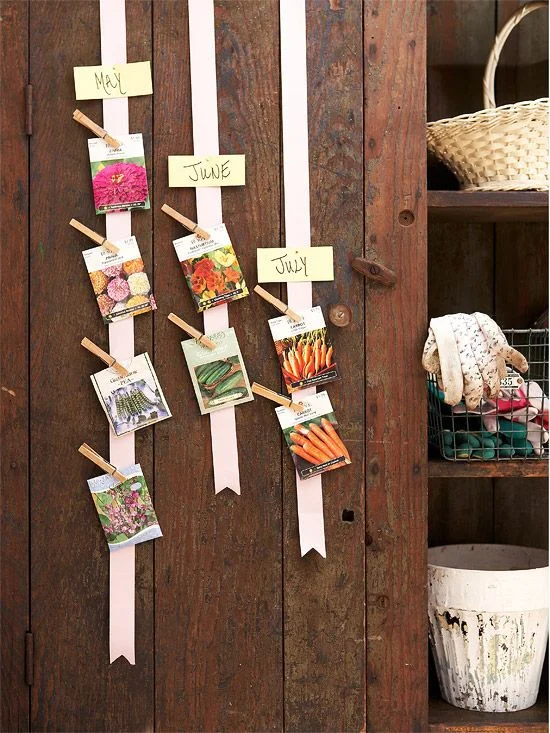
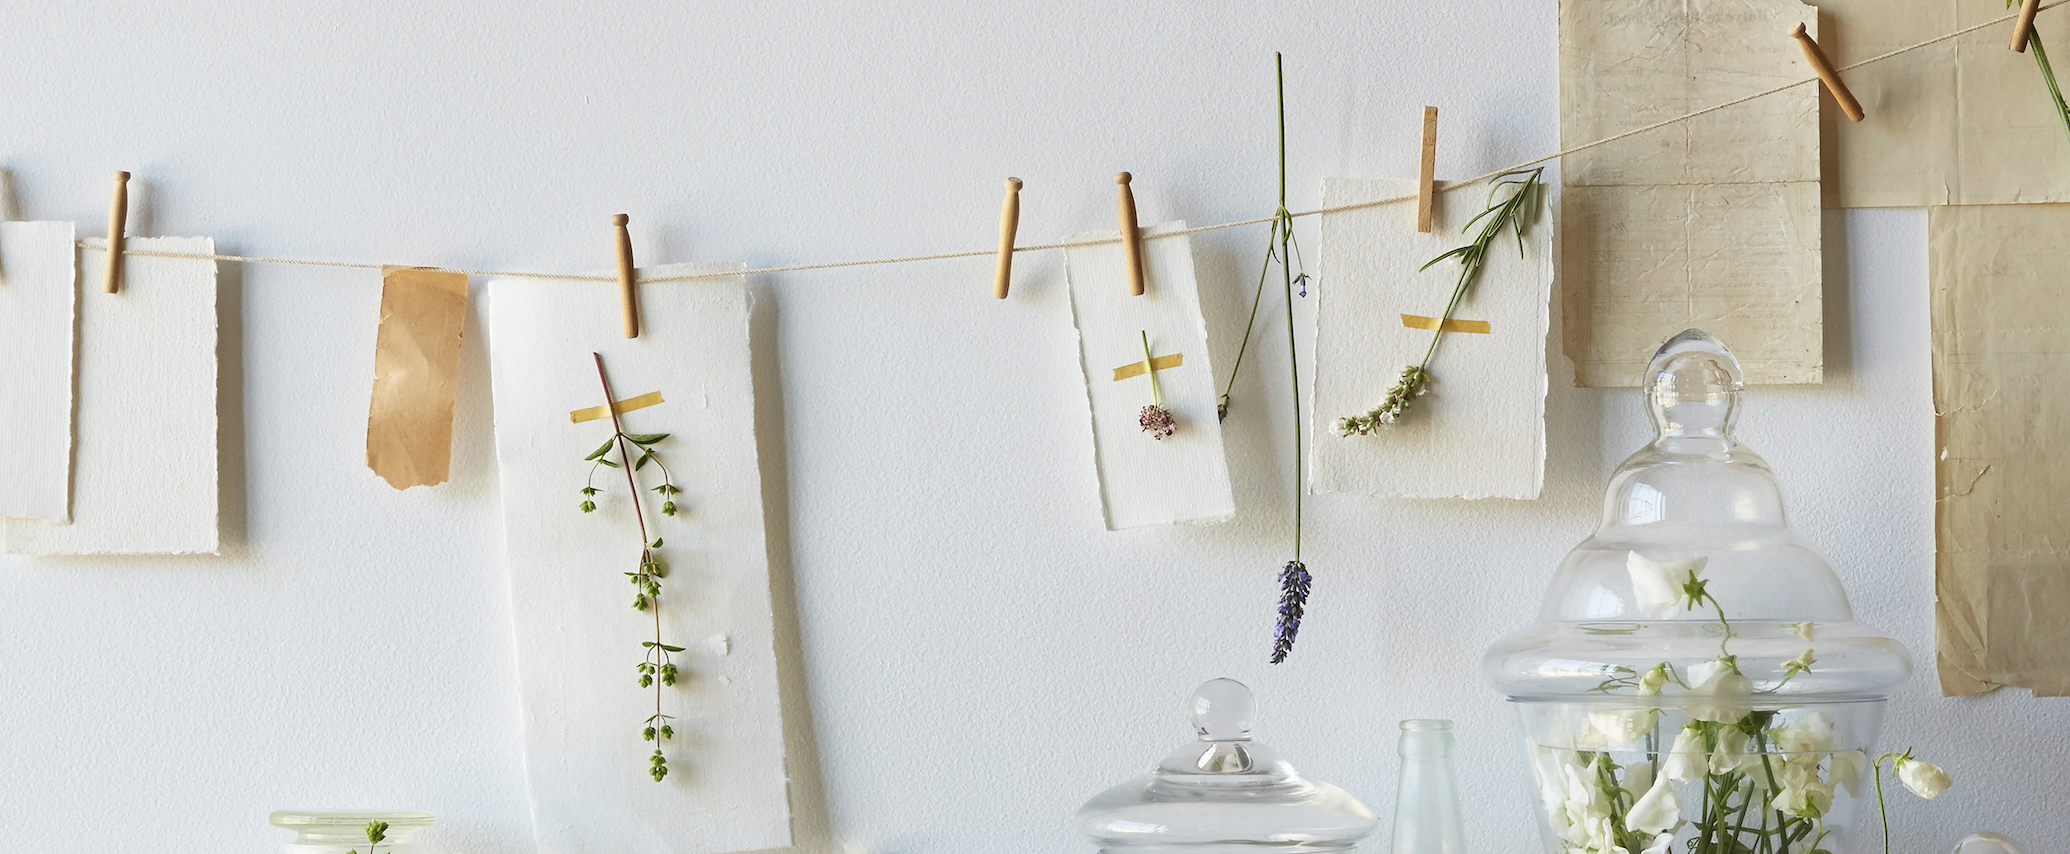
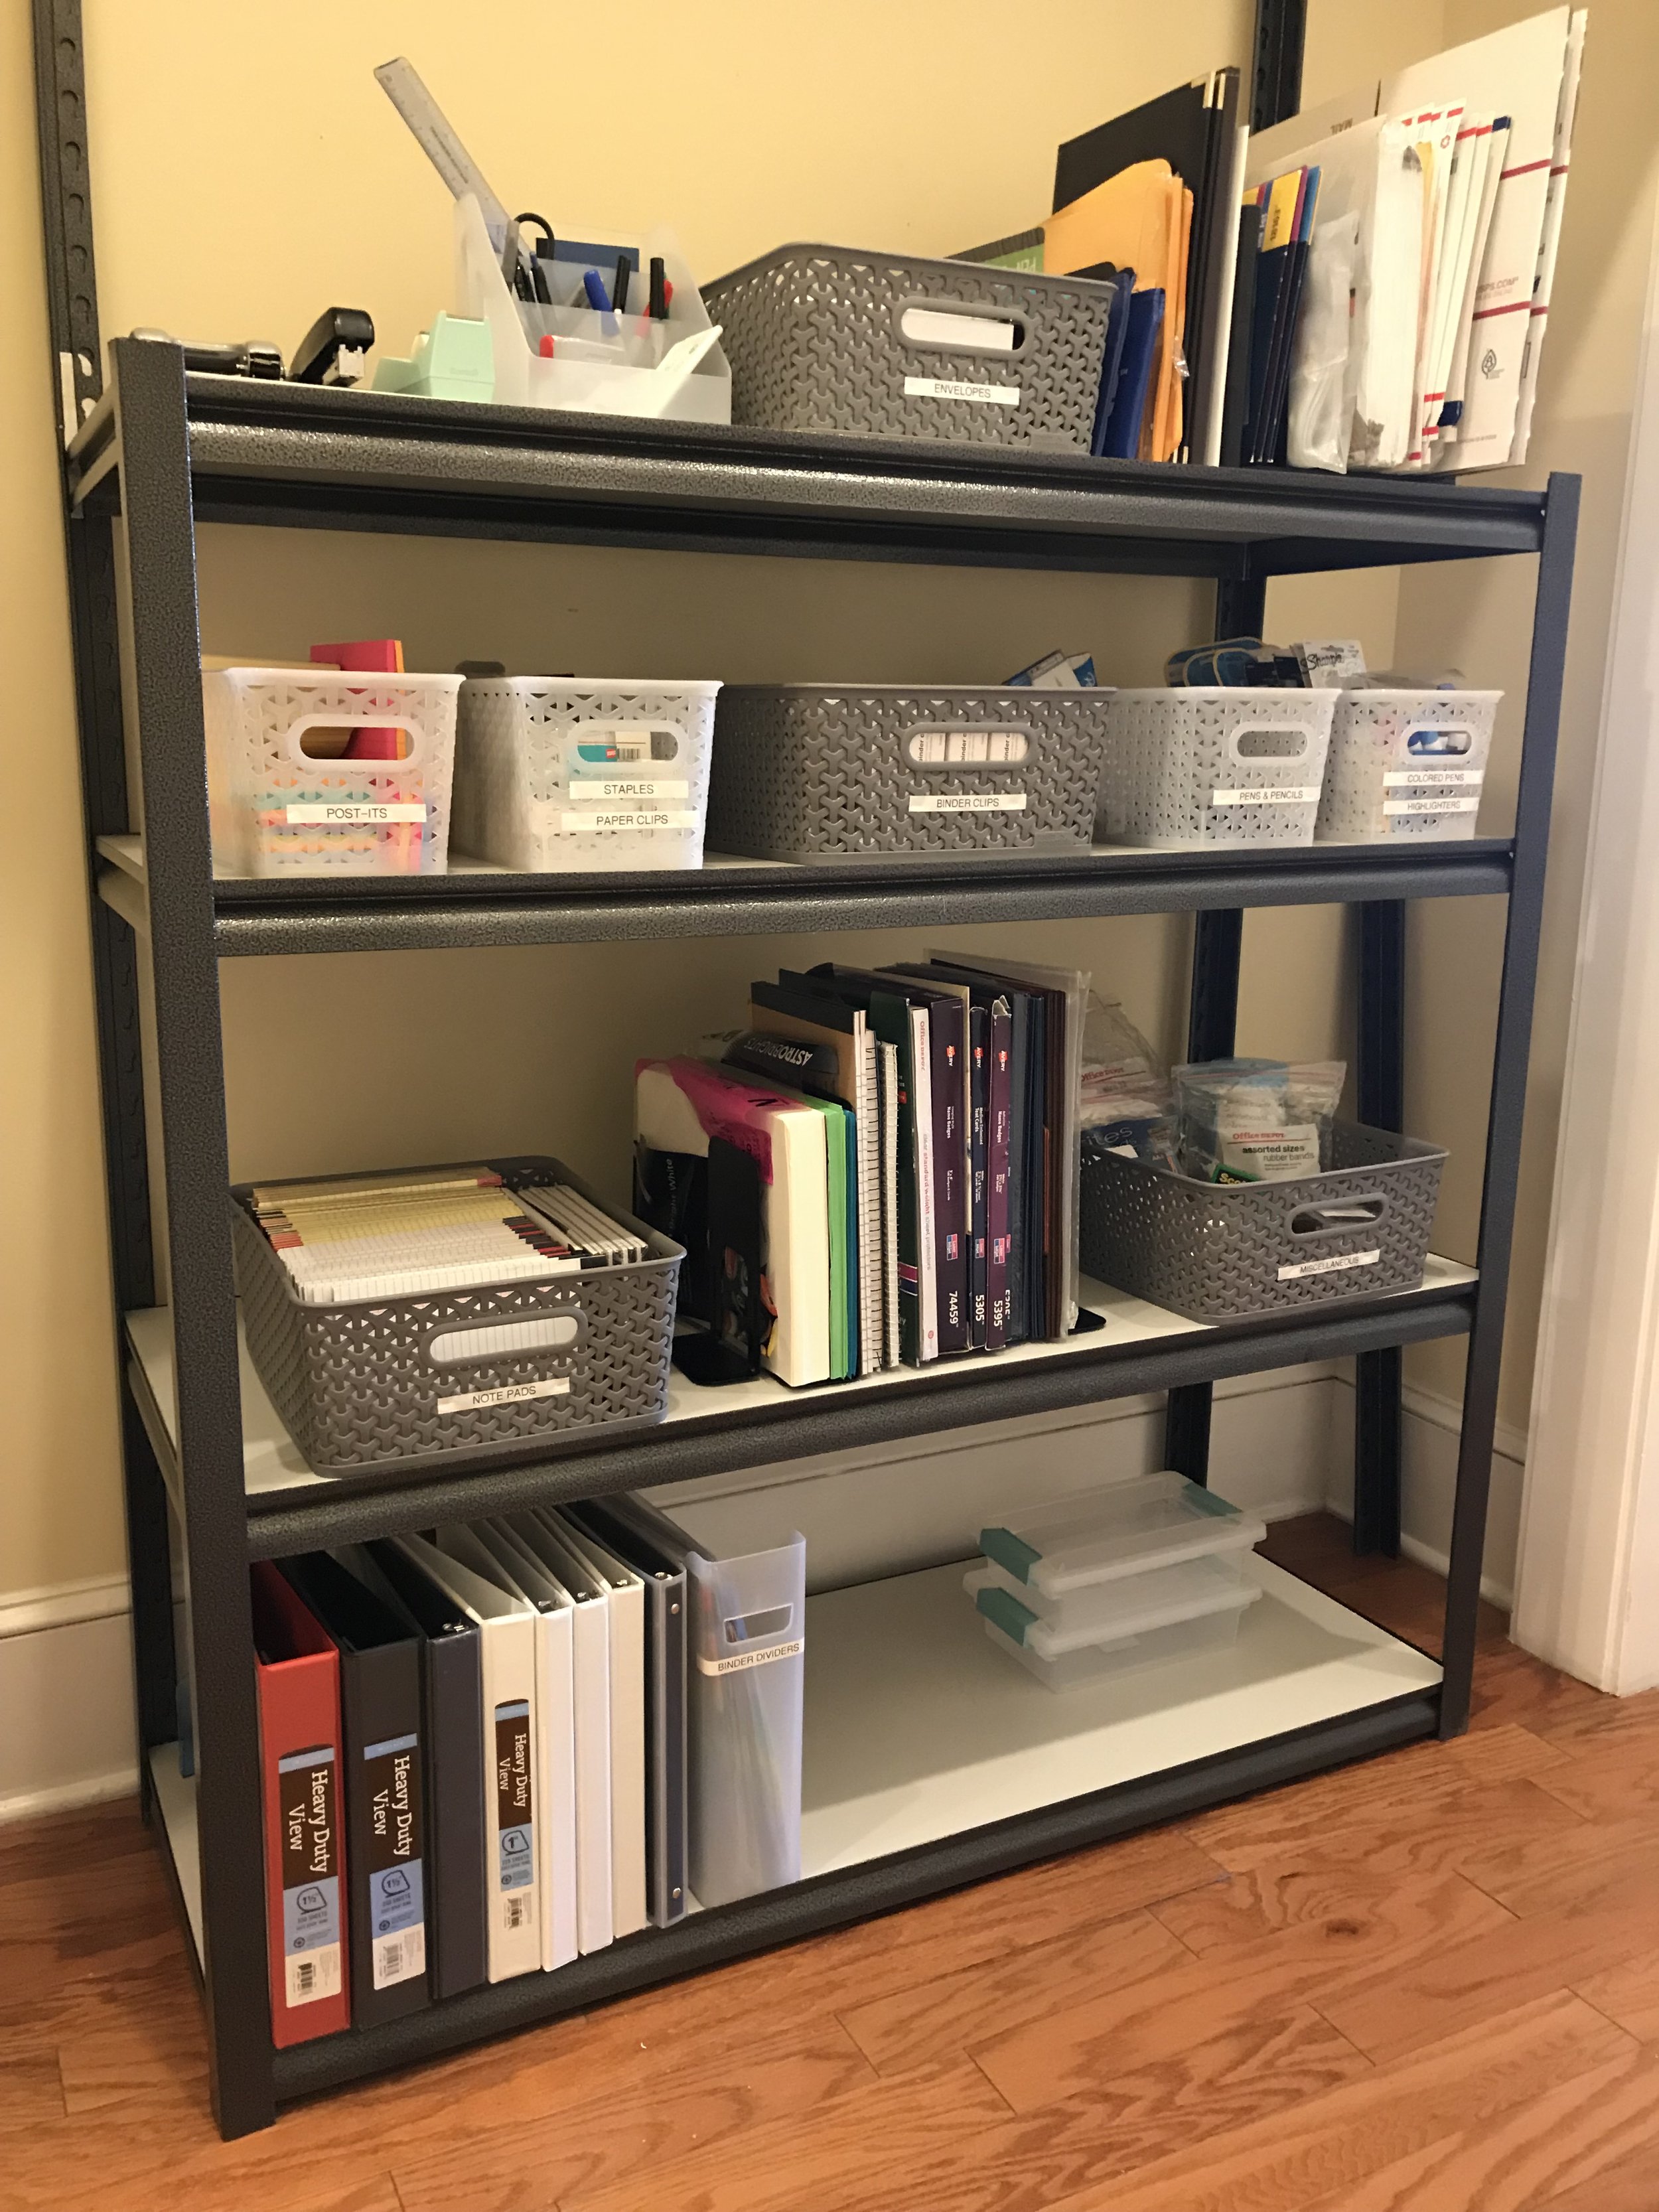
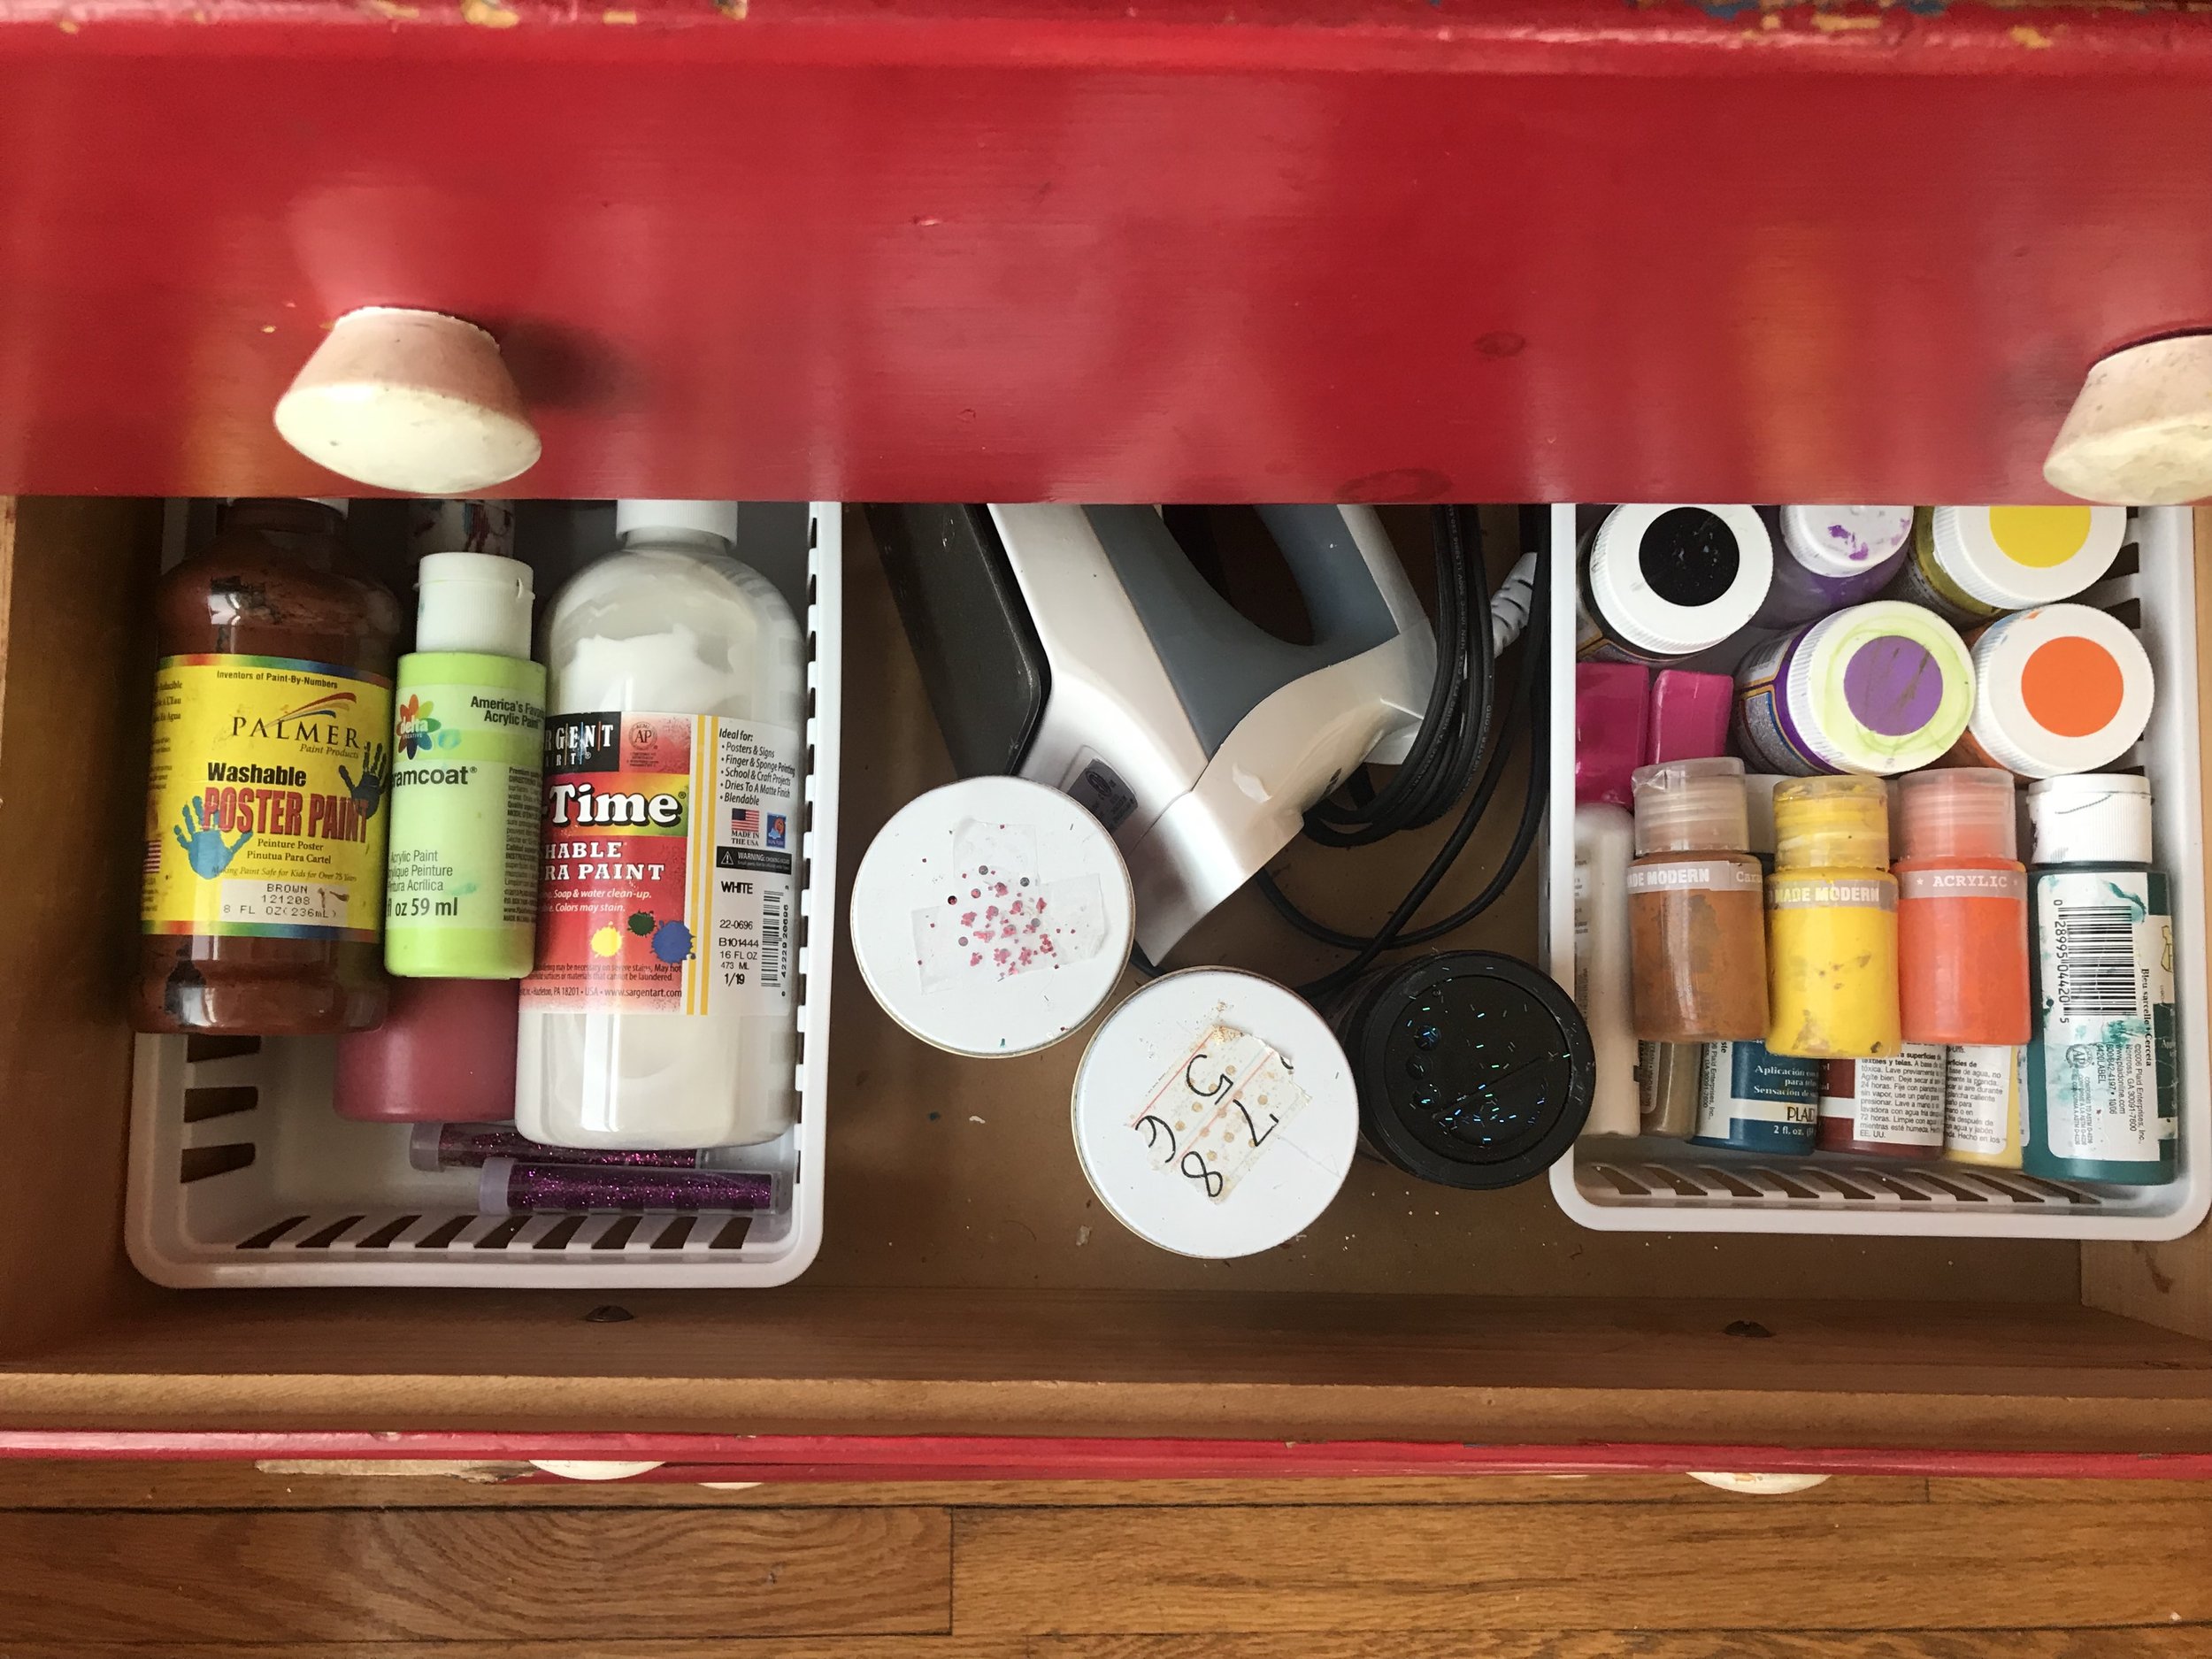
3. display seeds
To help keep track of when to plant what, try displaying your seeds by month. We love this idea of using ribbons and clothes pins. Seed packets are so pretty it's like displaying informal art. If you don’t have seed packets, just hang a classic clipboard with a nail and keep your list of planted vegetables, plants, and flowers handy!
Keep an active list on your phone with details for all that you are growing, include notes like watering schedule and fertilizer needs and harvest estimation dates.
Image from bhg.com
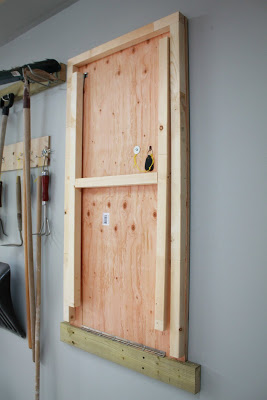
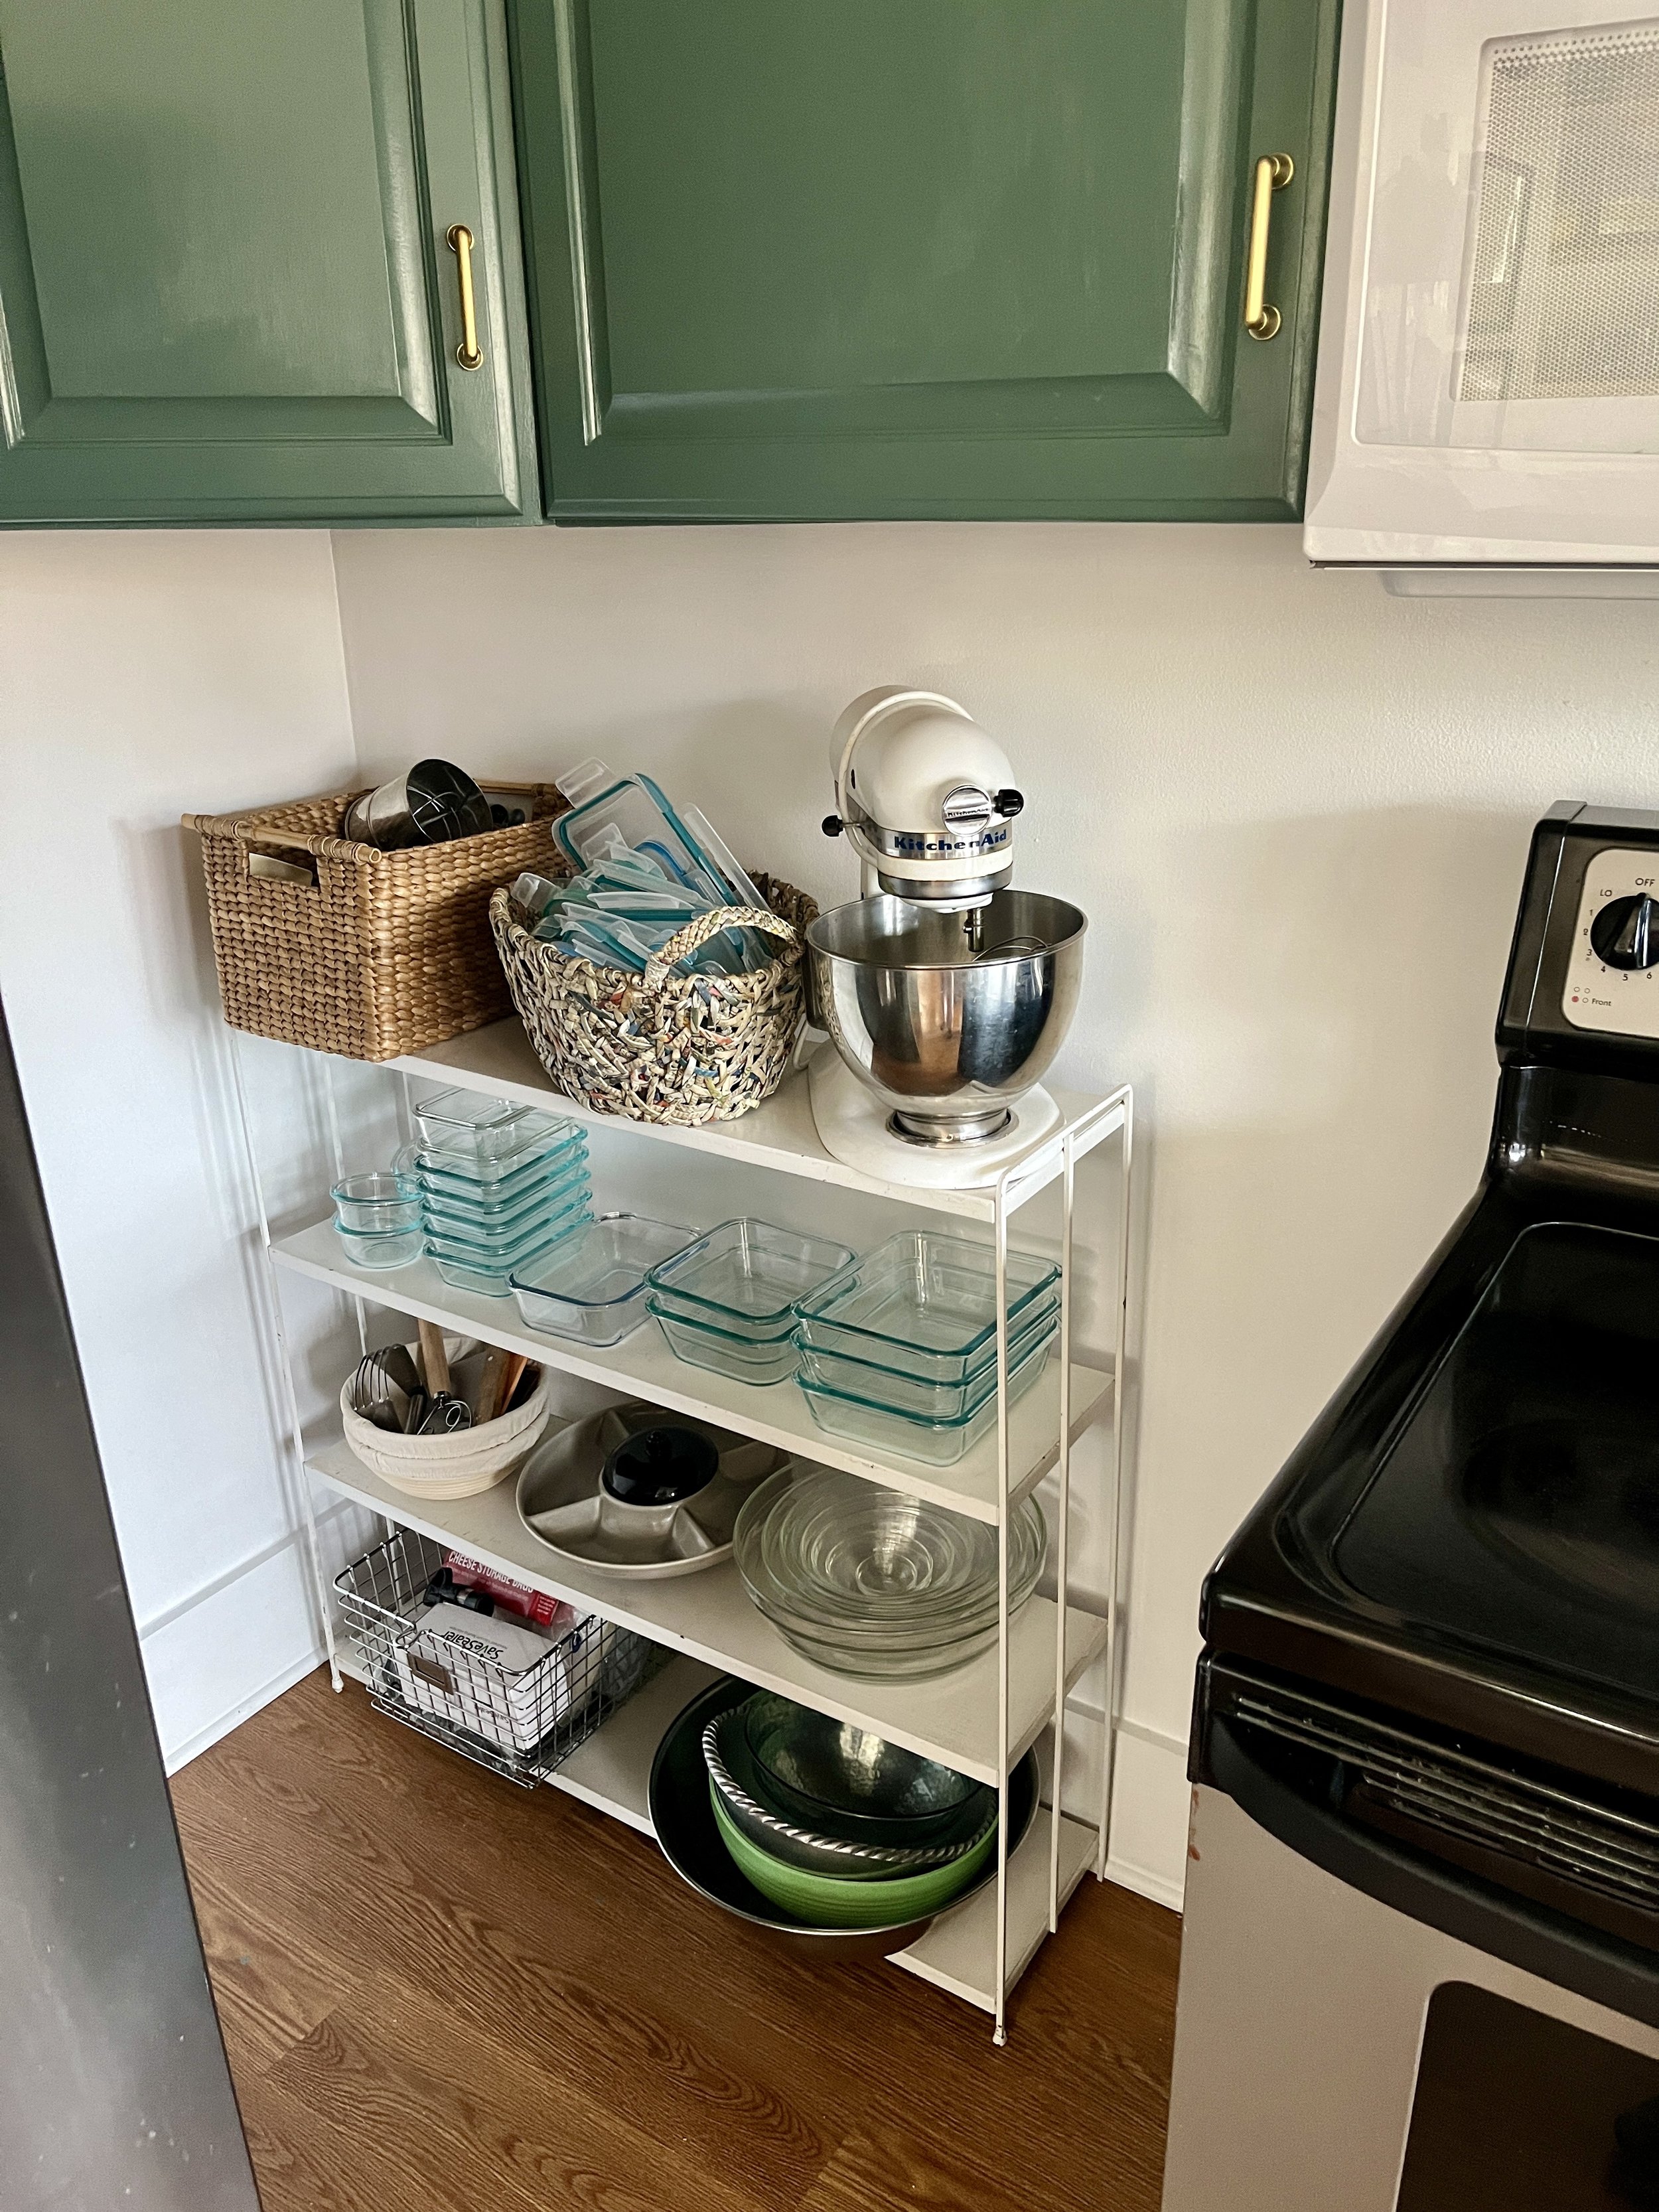
4. optimize space
If you have limited space and you're sharing real estate in a garage, use this handy pull down table to create space for potting plants when you need it.
Or if you’re looking to invest in a stand alone garden work bench - this is a great and affordable one.
Image and tutorial from Turtles and Tails

5. enlist help
You don’t have to do it alone, unless of course you want to! This is a great project to include a friend, family member, or neighbor who doesn’t mind getting a bit dirty. Clear the dust and dirt from prior planting seasons and tackle it. Ask for tips and ideas to set your garden shed area up for success. Our team loves to help bring new life to these often overlooked and dusty spaces. This is a great project to include kiddos too.
Our team of organizers has worked in many sheds over the years and we’d be happy to help bring order to yours.
Reach out today to get on our schedule!
Looking for more?
Here are some basics to get you started.


We hope these ideas give you reason to get outside, get a little dirt under your nails, and enjoy the season. If you need guidance regarding what to plant in your yard and other gardening how-to, check out a local nursery: Stanley’s, Thress, Pope’s, or Mayo Garden Center.
If you’re not interested in tending to a garden yourself, our area has plenty of beautiful community gardens to enjoy. Some of our local favorites are: Knoxville Botanical Gardens and UT Gardens. Don’t miss all the Dogwood Arts trails and gardens you can explore during the month of April.